Shading analysis
You can execute a complete shading analysis by clicking on "View" in the top-left menu and modifying the default value of "Image" in roofs or modules.
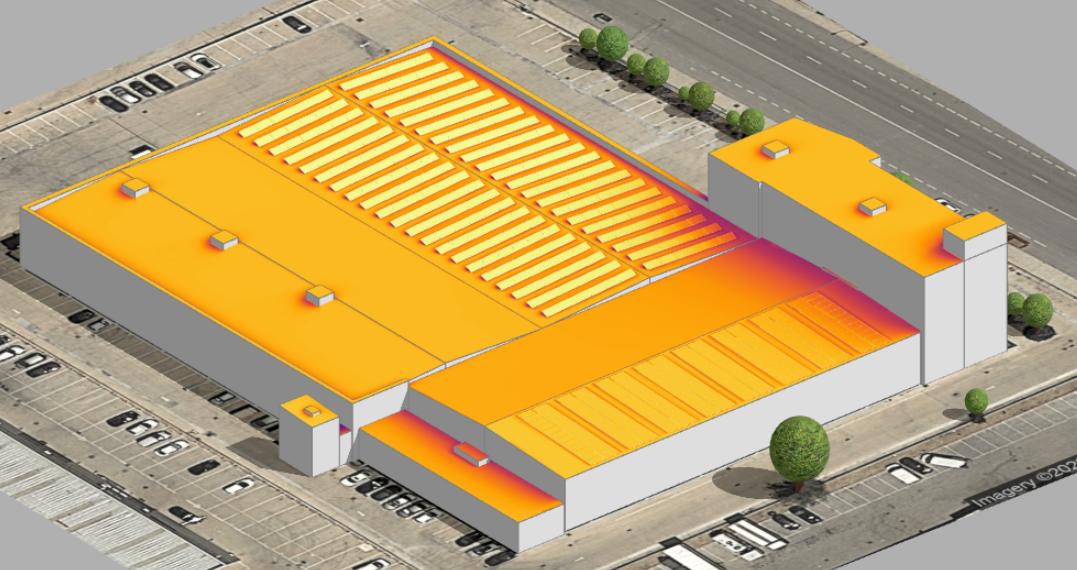
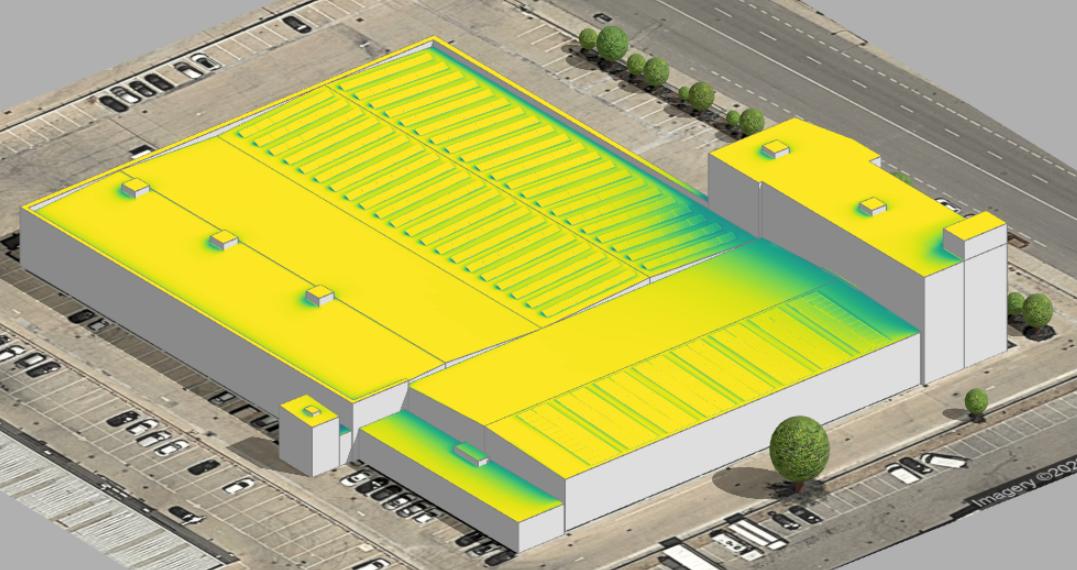
This analysis calculates the accumulated hourly energy that reaches every point in the 3D scene throughout the whole year, which allows you to visualize the shading affection taking into account all nearby objects like roofs, trees, obstacles and modules.
With this information you can avoid unnecessary losses, determine how to configure the module strings and decide where to use power optimizers.
Insolation
The annual insolation represents the final accumulated energy. You can use it to determine which modules receive more energy.
- The orientation directly affects the results.
- Nearby obstacles also reduce the energy received.

Solar access
The annual solar access represents the amount of energy received with respect to the energy that could be received if there were no obstacles nearby. You can use it to determine which modules/areas are more impacted by local shadows.
- The orientation does not affect the results.
- The color represents the % of energy blocked due to nearby objects.

Indicators
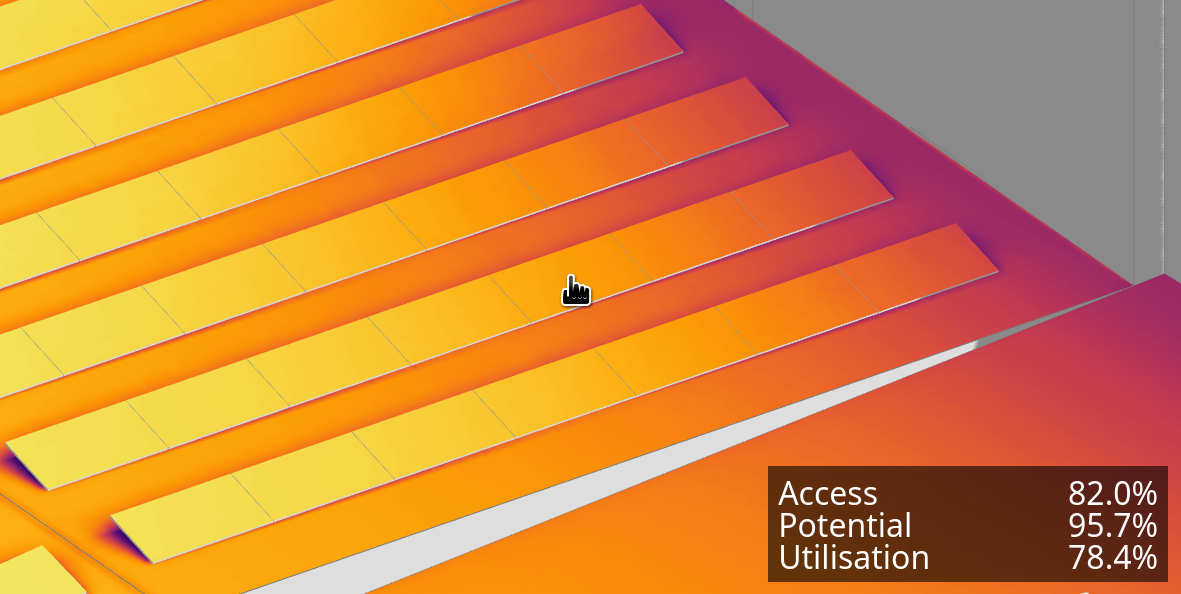
You can use the cursor to view the specific values of solar access, potential and utilization at any given point.

In this example:
An 82.0 % solar access means that 18.0% of the energy is lost due to shadows caused by nearby obstacles.
A 95.7 % solar potential indicates that it is underutilizing 4.3 % of energy compared to an optimal orientation of the plane.
A 78.4 % solar utilization results from the multiplication of the solar access and solar potential. Represents how much energy is received compared to the maximum energy that could reach that point if it had an optimal orientation and was free from obstacles.
Losses
To account for losses due to local shadows in the simulation:
Click on "View -> Modules -> Insolation" to generate the insolation map of the modules.
Wait for the analysis to complete so that you can visualize the insolation map on the modules.
Navigate to the Results section to run a simulation or, if you prefer, go to the Advanced section of the project to verify that the shading losses value has been saved correctly.
The shading losses value will remain stored in the project until a new shading analysis is executed.
WARNING
If you make modifications to the 3D scene, it will be necessary to re-run the analysis to recalculate and store the new local shading losses.