Mounting types
Flush
If you select the flush mounting type, the tool will automatically position the modules without tilt and parallel to the reference segment.

TIP
If you want to orient the modules freely, you can select tilted mounting with a 0 degree tilt and change the orientation.
Tilted
By selecting the tilted mounting type, the tool will automatically position the modules with the suggested tilt and orientation.
The tilt of the modules is defined with respect to the roof plane. In other words, it represents the tilt of the structure on which the modules are mounted, independently of the tilt of the roof.
This means that if you define a roof with a 20° tilt and then place the modules with a 20° tilt towards the ridge, the roof and module tilts are compensated and the modules are horizontal to the ground.
Similarly, if the modules are tilted 10° in the same direction as the roof (also tilted 10°), the tilt of the modules and the roof are added together, leaving the modules tilted a total of 20° with respect to the ground.
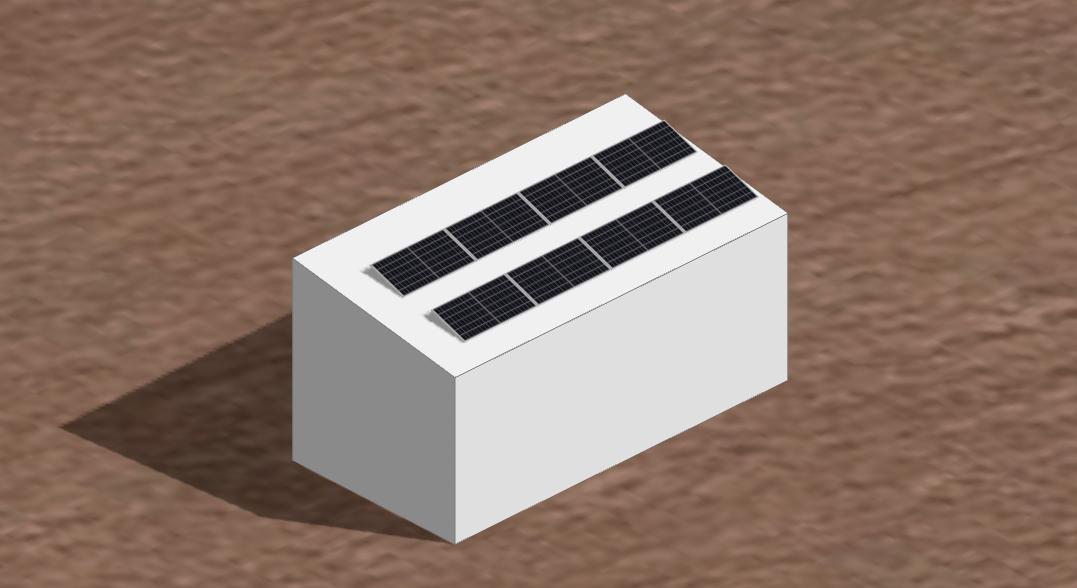
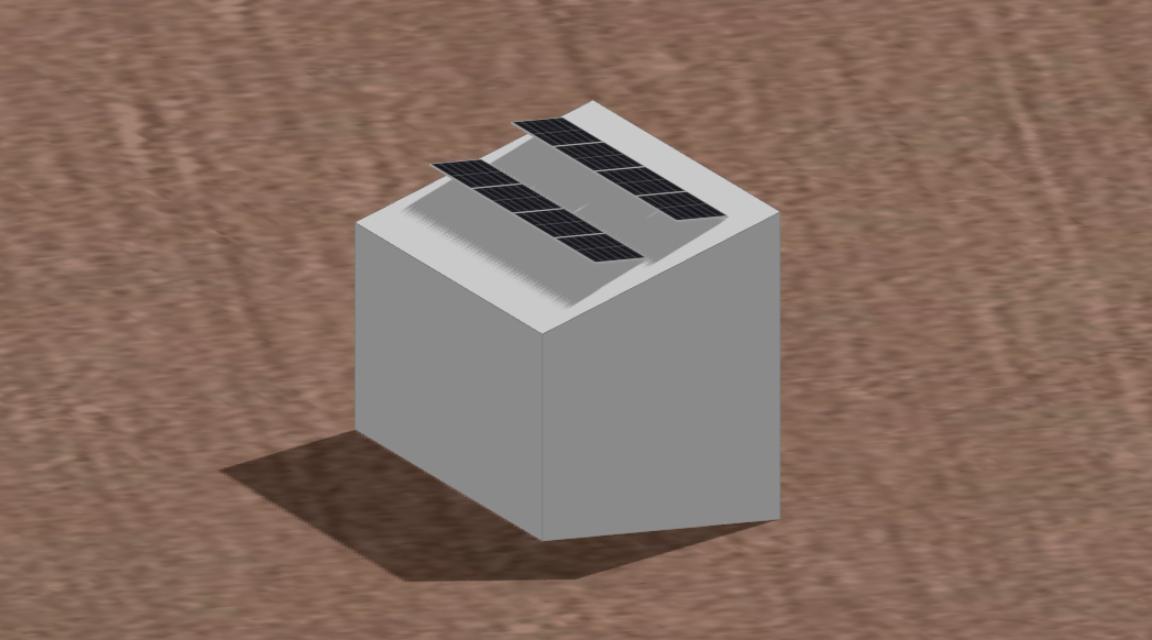
East-West
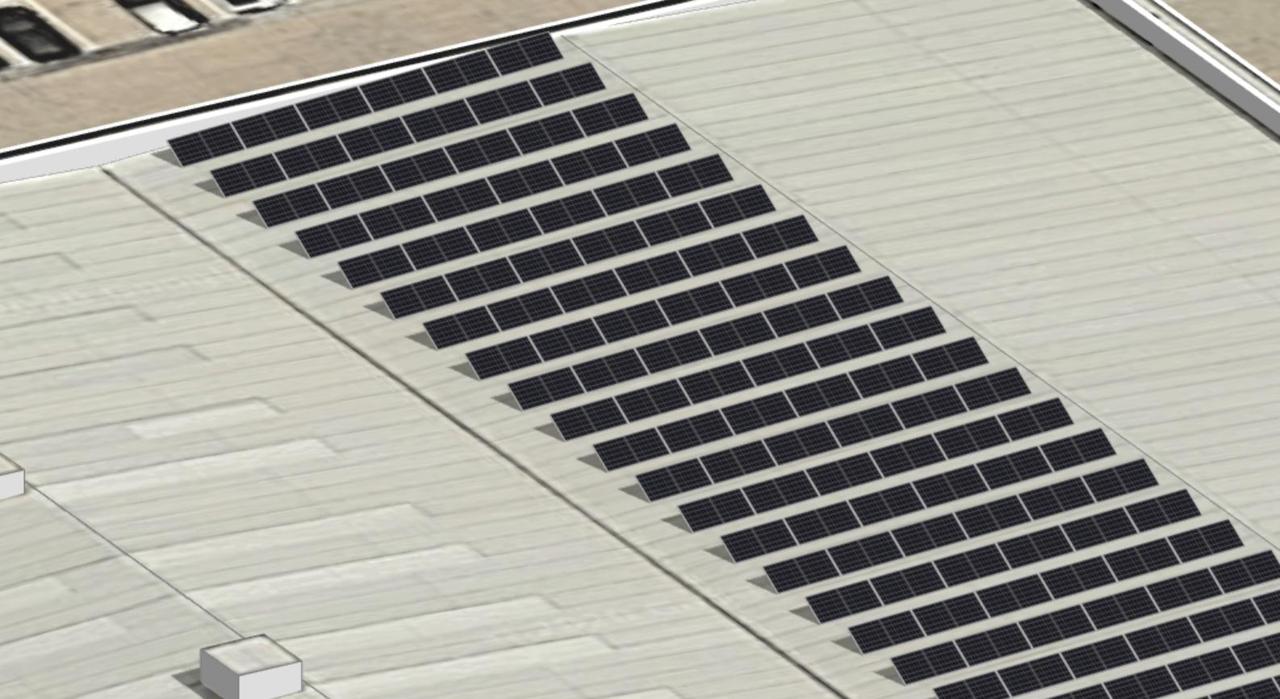
In the East-West mounting option the modules will automatically take the recommended orientation according to the characteristics of the roof. In addition, you can define the spacing of the rows to adjust your design to the physical characteristics of the structure.
To define the spacing between the rows you have 2 options:
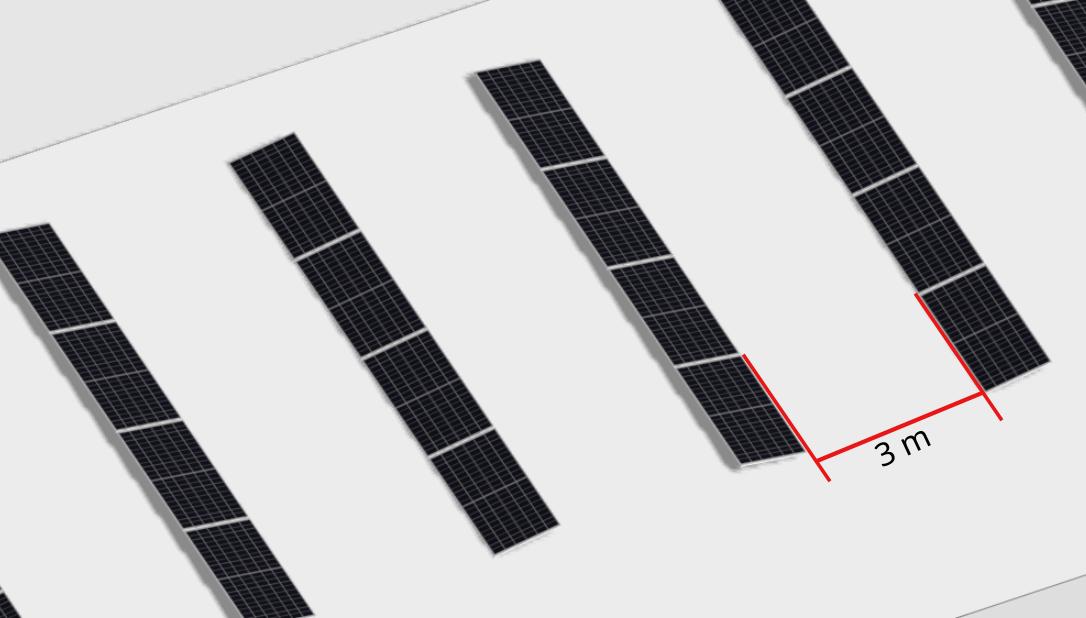
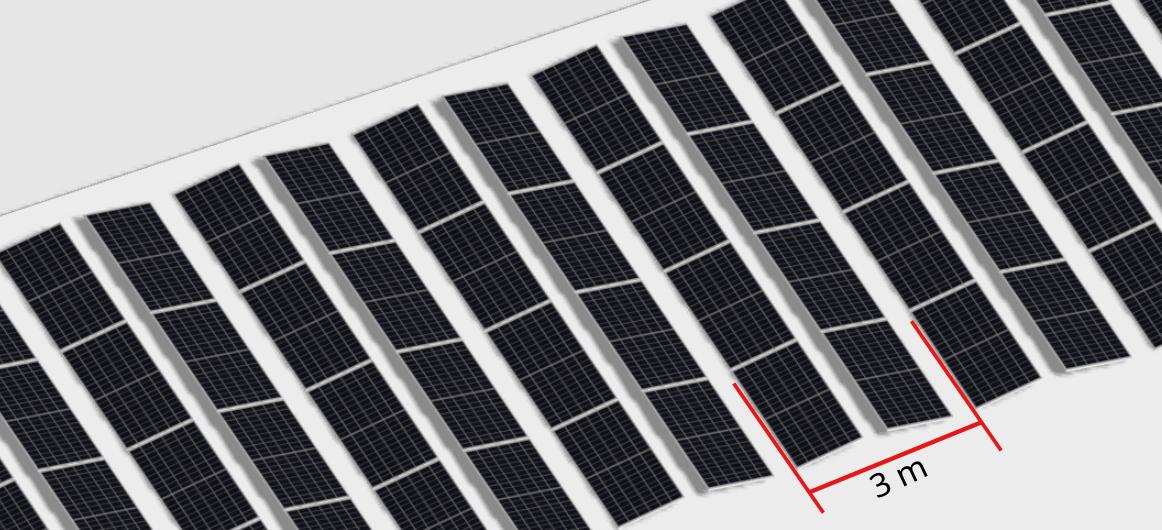
The step defines the distance between the beginning of one row and the next. In the E-W case a row is understood as the East-West set. In the picture you can see a step of 3 m.
When defining the distance between rows with the step you can use centre E-W to select the spacing between row E and row O. For example, for an E-W centre value of -1:
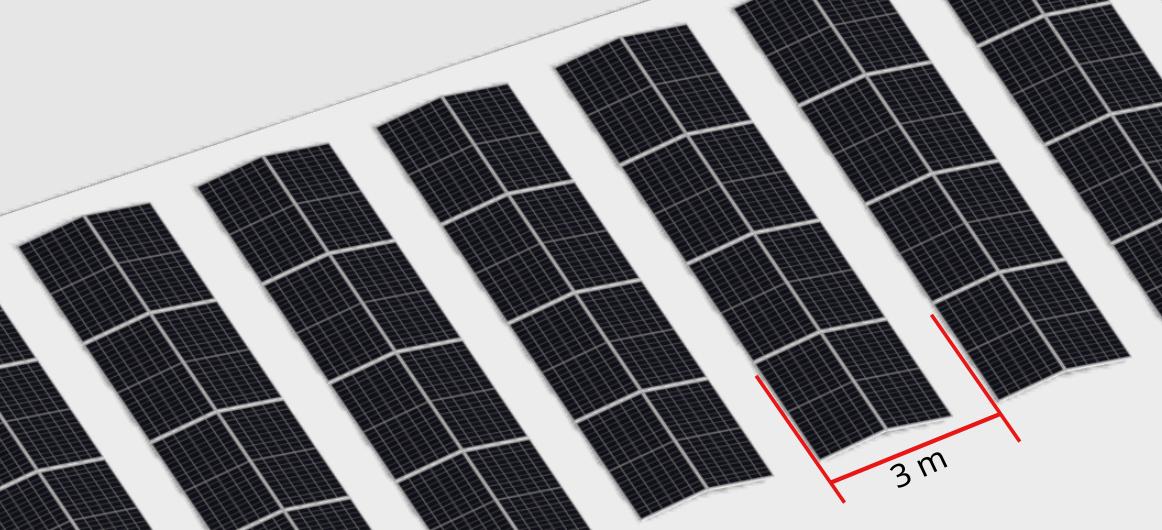
The gap between rows is used to define the distance between where one module ends and the next one begins. That is, the distance between where the horizontal projection of a row ends and where the next one begins.