Step 1. Creating a new project
With this tutorial, you will be able to design a complete project step by step in just 10 minutes. If you have not yet created your account, start with the article Account creation and log in.
Create your first project
To create a project you need to click on New project from the Projects menu.

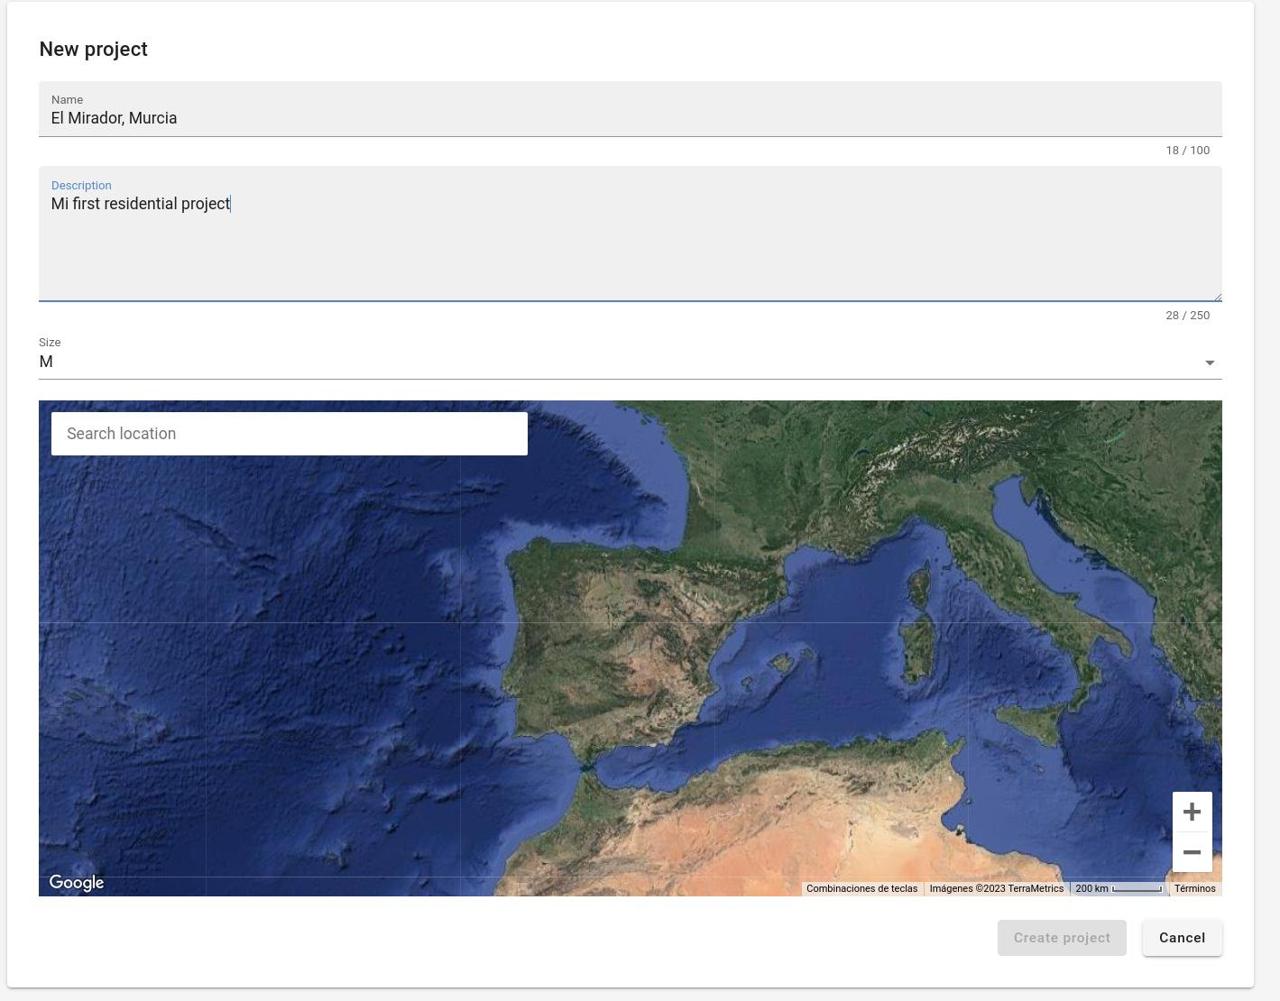
A window will open where you have to enter some basic data to create the project. Start with the name and description.
Name: El Mirador, Murcia Description: My first residential project
INFO
These basic data will allow you to later search for the project by keywords.
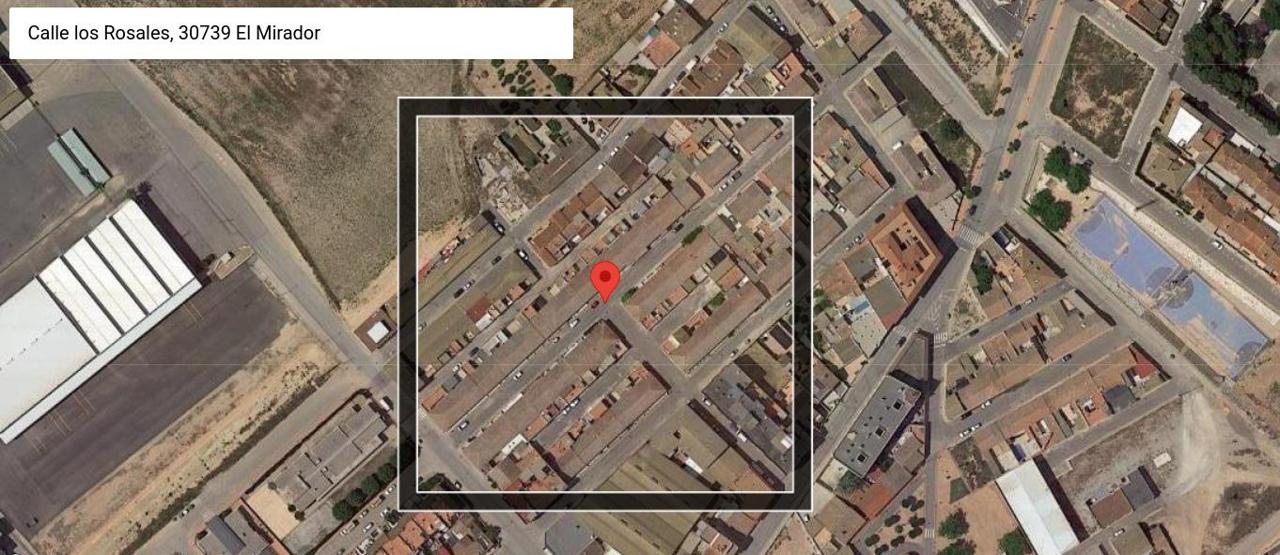
Then, you have to specify the location of the installation. For this you can enter the address in the search bar. For example
Location: Calle los Rosales, 34, 30739 El Mirador
If the location is approximate or if you want to specify another point for the installation simply click on the map on the point you want to take as the centre for the installation. You will see the red location icon placed there.
Another possible option is to include the coordinates. To do this, enter their value directly in the search bar in the form latitude, longitude. In this case it would be 37.843329, -0.854917.
The inside of the square marks the area of the satellite image that will be cropped for the 3D design in the project. You can change the size of the square in the Size tab between S, M, L, XL, 2XL and 3XL. Note that the larger the square, the lower the resolution of the image and that it is currently not possible to modify the image of a project after it has been created.
To finish, click on Create project.
Select the type of installation, modules and inverters
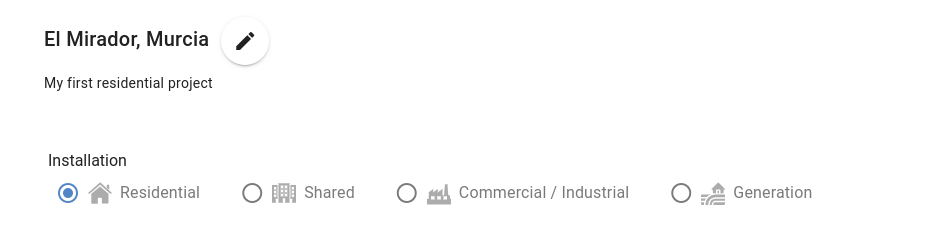
Once the project has been created, you will be able to access the different tabs to design and configure it to your liking. You can iterate as many times as you need and switch between tabs, but for the moment we advise you to follow the pre-established order: details, editor, prices, results and proposals.
Start in the details tab by selecting the type of installation. In this case, as we want to do a residential project we keep the default selection of Residential. In this way, the calculations will include VAT.
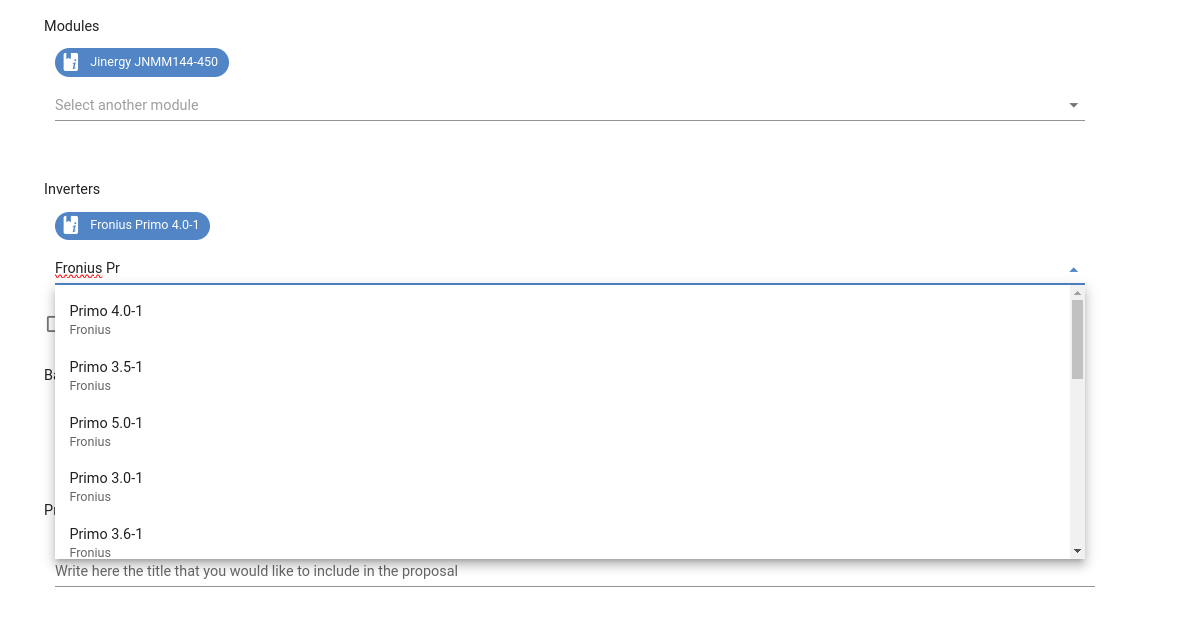
You can conveniently select the module and inverter to be used in the installation from the search bar. For this project select:
Modules: Jinergy JNMM144-450
Inverters: Fronius Primo 4.0-1